Injection System
The injection system deploys PhantomIDs into external platforms — CRMs, websites, databases, and communication tools. When planted data is later accessed or leaked, Detektix detects it.
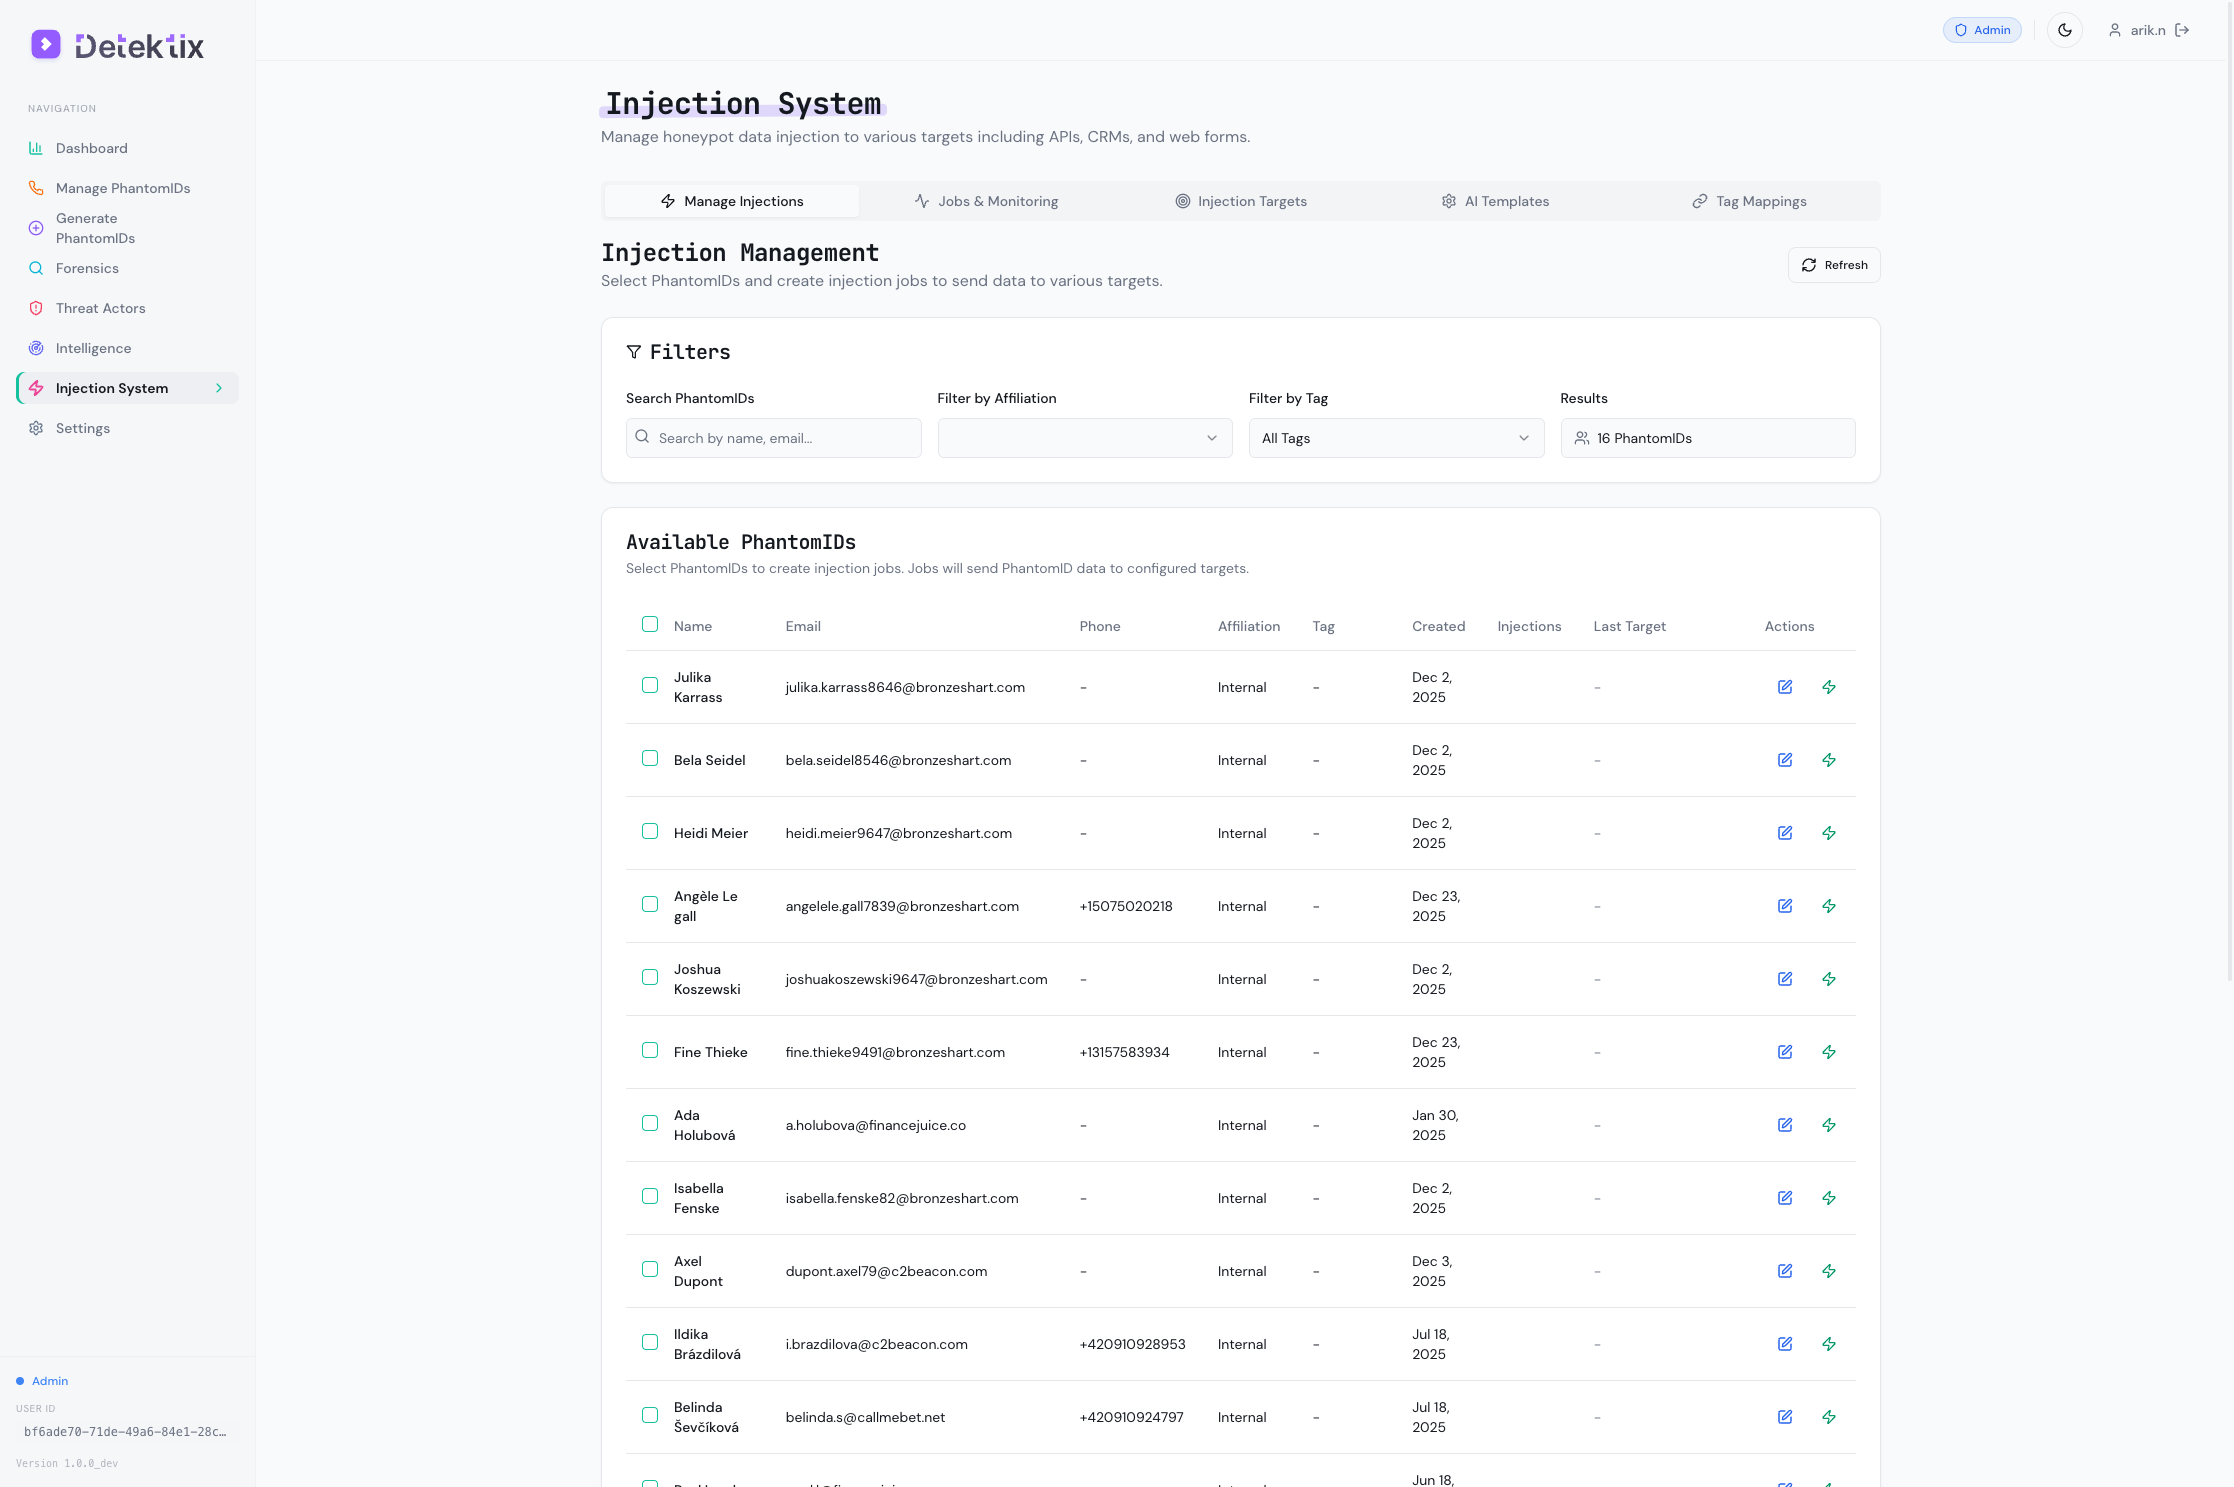
How Injection Works
Injection follows a structured workflow:
Create Target → Map Tags to Target → Generate Jobs → Execute → Track Results
- Create an injection target — Define where PhantomIDs will be deployed (a CRM API, a web form, a Slack channel, etc.)
- Map tags to targets — Configure which PhantomIDs (by tag) should be injected into which targets
- Jobs are created — Either manually or automatically based on mapping rules
- Execution — The injection engine processes each job using the appropriate plugin
- Tracking — Results are logged with success/failure status, external IDs, and execution details
Injection Target Types
The system supports multiple injection channels through a plugin architecture:
Supported Target Types
The following target types are currently supported:
| Target Type | Plugin | Description |
|---|---|---|
api | REST API | Generic HTTP API calls (POST/PUT/PATCH) to any platform |
web_form_browser | Web Form (AI) | AI-powered browser automation for filling web registration forms |
web_form_api | Web Form (API) | Form submission via direct HTTP requests |
crm_salesforce | CRM | Salesforce contact/lead creation |
crm_hubspot | CRM | HubSpot contact creation |
crm_pipedrive | CRM | Pipedrive deal/contact creation |
crm_symplify | CRM | Symplify marketing list injection |
s3_bucket | Cloud Storage | AWS S3 file uploads |
database_direct | Database | Direct database record insertion |
email_list | Email list injection | |
custom | Custom | Extensible plugin for custom targets |
Additionally, platform-specific integrations (Zendesk, Slack) are available as dedicated plugins.
REST API
Deploy PhantomIDs via direct API calls to CRMs, marketing platforms, and custom systems.
| Setting | Description |
|---|---|
| URL | The API endpoint to send data to |
| Method | HTTP method: POST, PUT, or PATCH |
| Authentication | Bearer token, Basic auth, or API key |
| Field Mapping | Maps PhantomID fields (name, email, phone) to the target API's expected fields |
| Headers | Custom HTTP headers if required |
Ideal for: Salesforce, HubSpot, custom CRMs, marketing automation platforms.
Web Form (Browser Automation)
Deploy PhantomIDs by automatically filling and submitting web registration forms using AI-powered browser automation.
| Setting | Description |
|---|---|
| URL | The registration page URL |
| AI Instructions | Natural language instructions for the form-filling AI |
| Pre-actions | Steps to perform before form filling (click cookie banners, navigate menus) |
| Post-actions | Steps after submission (click confirmation links, verify success) |
| Success Detection | How to detect successful submission (URL change, CSS selector, confirmation text) |
| CAPTCHA Handling | Optional CAPTCHA solving integration |
| Proxy | Optional proxy configuration for geographic targeting |
The AI reads the form, understands the fields, and fills them with the appropriate PhantomID data. It handles dynamic forms, dropdowns, date pickers, and multi-step registrations.
CRM Platforms
Native integrations with specific CRM systems:
- Zendesk — Creates contacts or support tickets with PhantomID data
- Symplify — Adds contacts to marketing lists with field mapping
These plugins understand the target platform's data model and handle the integration natively.
Slack
Upload PhantomID data to Slack channels:
| Setting | Description |
|---|---|
| Channel | Target Slack channel ID |
| Format | Upload format: CSV, JSON, or plain text |
| Bot Token | Slack bot authentication token |
Useful for testing whether data shared in internal Slack channels gets leaked.
Database
Insert PhantomID records directly into target databases. Supports configurable connection strings, table names, and field mappings.
Cloud Storage (S3)
Upload PhantomID data files to AWS S3 or compatible storage:
| Setting | Description |
|---|---|
| Bucket | Target S3 bucket name |
| Path | File path within the bucket |
| Format | File format (CSV, JSON) |
| Credentials | AWS access key and secret |
Creating Injection Targets
Navigate to Injection → Targets to manage your injection targets.
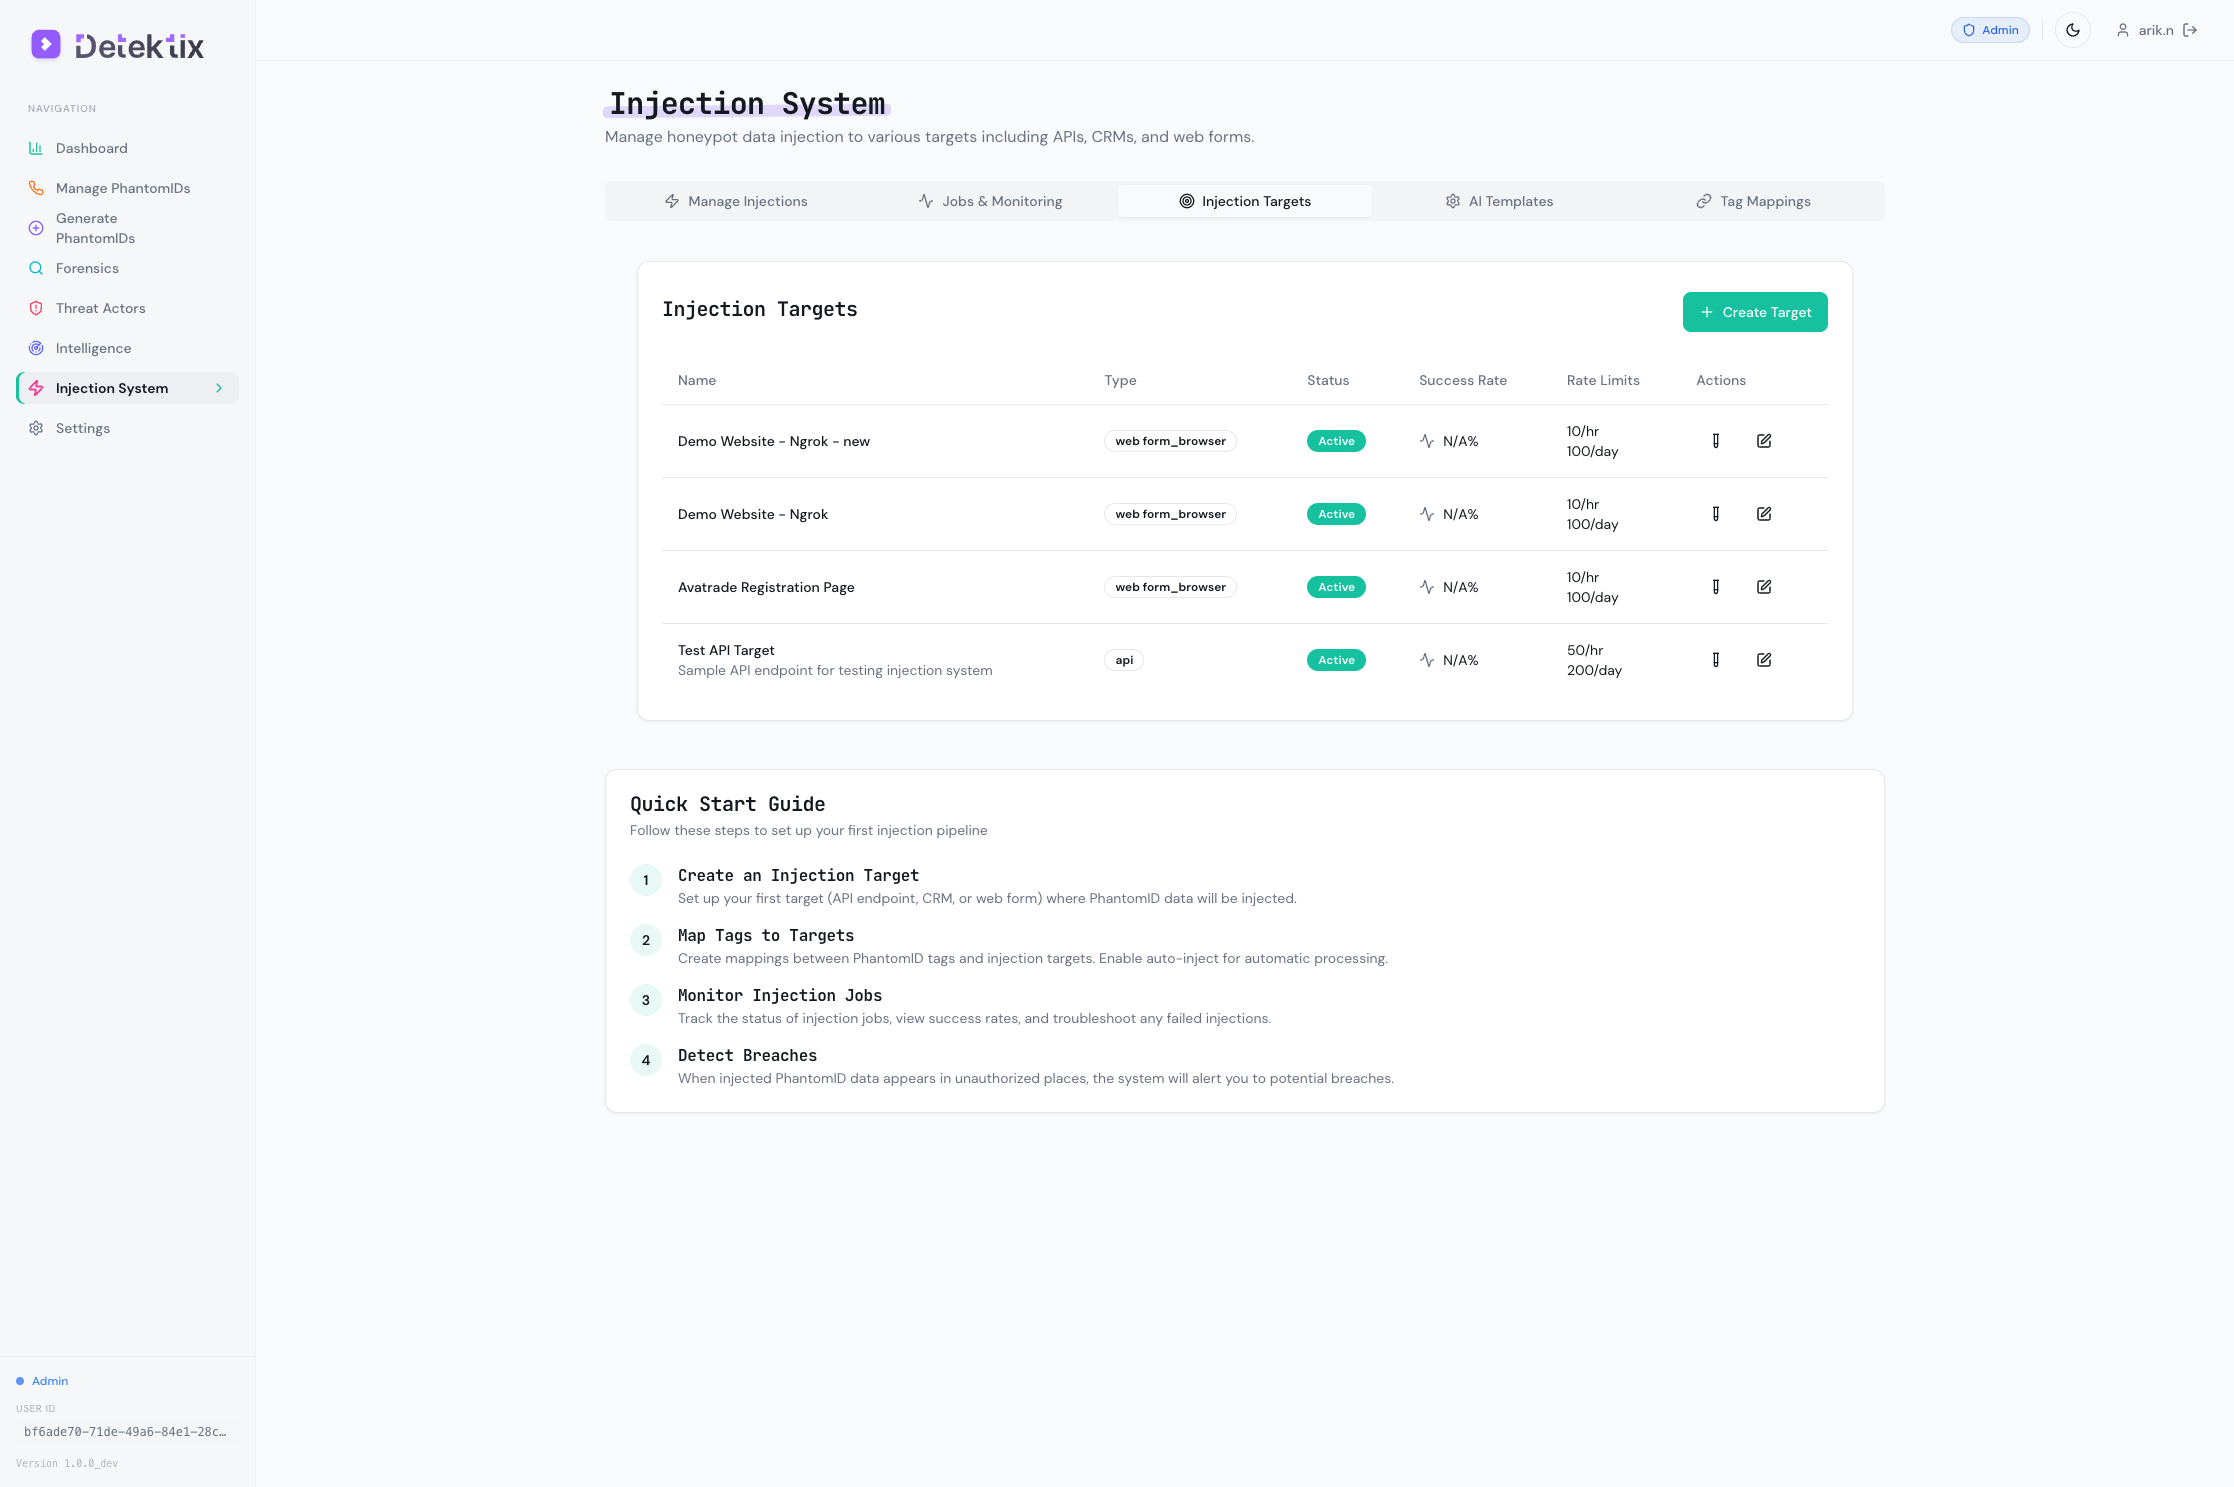
Step 1: Choose Target Type
Select the appropriate plugin type based on where you want to deploy PhantomIDs.
Step 2: Configure Connection
Enter the target platform's connection details — URL, authentication, and any platform-specific settings.
Step 3: Map Fields
Define how PhantomID fields map to the target's expected fields:
| PhantomID Field | Example Target Field |
|---|---|
| First Name | first_name, firstName, vorname |
| Last Name | last_name, lastName, nachname |
email, email_address | |
| Phone | phone, telephone, mobile |
| Address | street, city, zip, country |
| Date of Birth | dob, birthdate |
Step 4: Set Rate Limits
Configure rate limiting to control injection speed:
- Requests per hour — Maximum jobs executed per hour
- Requests per day — Maximum jobs executed per day
- Delay between requests — Minimum time between consecutive injections
Rate limiting prevents overwhelming target platforms and maintains operational security.
Step 5: Test and Validate
Use the validation function to test your target configuration with sample data before enabling production injections.
Tag-to-Target Mappings
Mappings are the rules that connect PhantomIDs to injection targets. They answer the question: "Which PhantomIDs should go where?"
Navigate to Injection → Mappings to configure these rules.
How Mappings Work
Each mapping connects:
- A tag (which identifies a group of PhantomIDs)
- An injection target (where those PhantomIDs should be deployed)
- An affiliation (scoping the mapping to a business unit)
Mapping Settings
| Setting | Description |
|---|---|
| Tag | The PhantomID tag that triggers this mapping |
| Target | The injection target to deploy to |
| Affiliation | Business unit scope |
| Auto-inject | When enabled, new PhantomIDs with this tag are automatically queued for injection |
| Priority | Execution priority (higher priority jobs run first) |
| Schedule | Optional cron schedule for periodic injection |
| Delay | Hours to wait before injecting newly tagged PhantomIDs |
| Filter | Additional conditions (e.g., only PhantomIDs from specific countries) |
Auto-Injection
When auto-inject is enabled on a mapping:
- A new PhantomID is created (or an existing one is tagged)
- The system checks all mappings for that tag
- For each matching mapping with auto-inject enabled, an injection job is automatically created
- Jobs are queued and executed according to priority, schedule, and rate limits
This creates a fully automated pipeline: generate PhantomIDs → tag them → they're automatically deployed to the right targets.
Job Management
Navigate to Injection → Jobs to monitor and manage injection jobs.
Job Statuses
| Status | Description |
|---|---|
| Pending | Job created, waiting to be queued |
| Queued | Job is in the execution queue |
| Running | Job is currently being executed |
| Completed | Job finished successfully — PhantomID was deployed |
| Failed | Job encountered an error — check execution log for details |
| Cancelled | Job was manually cancelled before execution |
| Retrying | Job failed and is scheduled for automatic retry |
Job Details
Each job records:
- PhantomID — Which identity was being deployed
- Target — Where it was being deployed to
- Status — Current job state
- External ID — The ID assigned by the target platform (used for breach tracking)
- Execution log — Detailed step-by-step log of the injection process
- Error message — If failed, what went wrong
- Timestamps — Created, started, completed
Retry Logic
Failed jobs can be automatically retried based on the target's retry configuration. The system uses exponential backoff to avoid overwhelming targets that may be temporarily unavailable.
Manual Controls
- Cancel — Stop a pending or queued job before it executes
- Retry — Manually retry a failed job
- Bulk actions — Cancel or retry multiple jobs at once
Breach Detection
When a PhantomID is successfully injected, the system tracks:
- External ID — The unique identifier assigned by the target platform
- Injection timestamp — When the PhantomID was deployed
- Target platform — Where it was deployed
If that PhantomID is later contacted (call, SMS, email), the system cross-references the injection history to determine which deployment was the source of the data exposure. This is how Detektix traces leaks back to specific platforms.